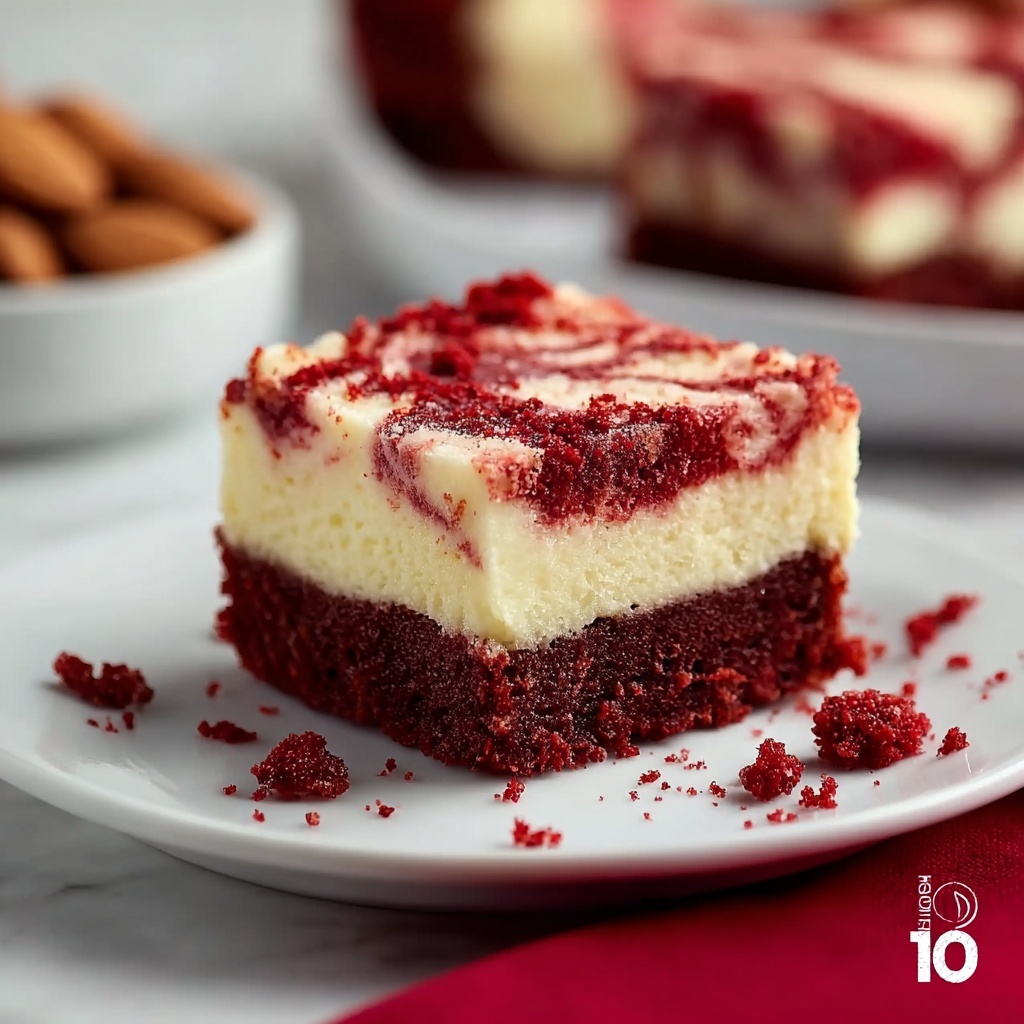
If you’ve been on the lookout for a rich, luscious dessert that’s perfectly moist, delightfully chocolatey, and beautifully vibrant without any gluten, then you’re going to fall head over heels for this Gluten-Free Red Velvet Brownies with Almond Flour Recipe. It brings together the deep cocoa flavors and classic red velvet charm into fudgy brownies that use almond flour for a tender crumb and subtle nuttiness. Whether you’re gluten-sensitive, craving something unique, or just in love with all things red velvet, this recipe is a guaranteed winner that everyone will rave about.
Ingredients You’ll Need
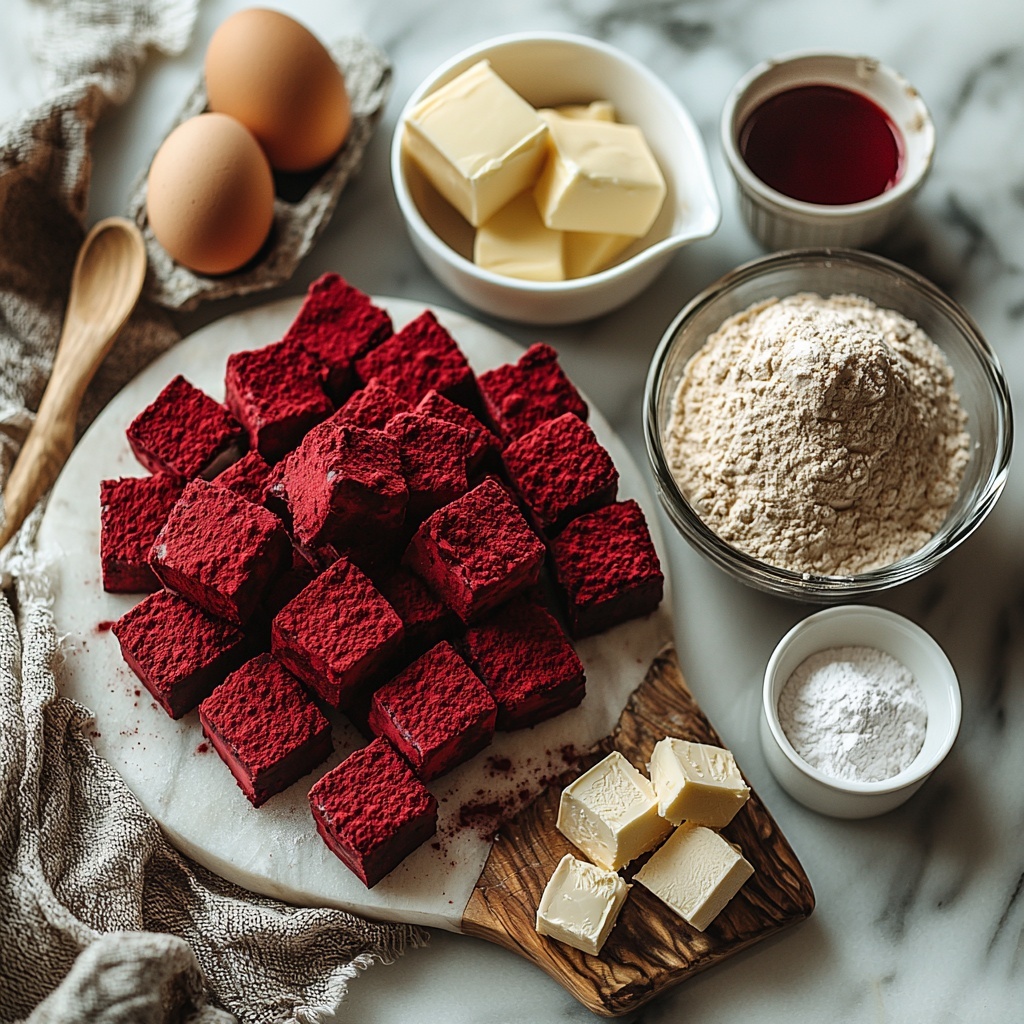
This recipe is wonderfully straightforward, with every ingredient playing a crucial role in creating the perfect texture, flavor, and color. From the almond flour’s delicate nuttiness to the vibrant red food coloring, these elements work harmoniously to make these brownies utterly irresistible.
- 3/4 cup almond flour: King Arthur’s brand is my go-to for a fine, consistent texture that keeps the brownies tender.
- 3 eggs: Room temperature is key here to help the batter come together without stiffness.
- 10 tbsp butter: Unsalted Kerrygold butter melts smoothly and enriches the brownies with a creamy flavor.
- 1/3 cup cocoa powder: Adds that essential dark chocolate depth that’s signature to red velvet treats.
- 3/4 cup sweetener: Balances the cocoa’s intensity and sweetness while keeping these brownies gluten-free friendly.
- 1 tsp baking powder: Gives the brownies just enough lift without sacrificing density.
- 1 tsp vinegar: Reacts with the baking powder to create that classic red velvet tang and height.
- 1 tbsp red food coloring: Infuses the brownies with that vibrant, eye-catching red hue.
- 1/4 tsp salt: Enhances all the flavors and balances the sweetness perfectly.
- 6 oz cream cheese: Philadelphia brand cream cheese gives the swirl a luscious, silky texture.
- 1/4 cup sweetener: For the cream cheese swirl’s subtle sweetness and smoothness.
- 1 egg: Binds the cream cheese swirl beautifully for a velvety finish.
- 1 1/2 tsp vanilla: Adds warmth and complexity to the cream cheese topping.
How to Make Gluten-Free Red Velvet Brownies with Almond Flour Recipe
Step 1: Prepare Your Pan and Preheat
Start by preheating your oven to 350°F (175°C) and greasing or lining an 8×8-inch square baking pan with parchment paper. This helps your brownies come out effortlessly clean once baked.
Step 2: Melt the Butter and Mix Cocoa
Gently melt the butter in a saucepan or microwave, then whisk in the cocoa powder until it’s smooth and evenly combined. This forms the rich chocolate base that’s vital to the brownie’s flavor.
Step 3: Combine Wet Ingredients
In a mixing bowl, beat the eggs, sweetener, vinegar, and red food coloring together until the mixture is smooth and vibrant. This colorful blend ensures the signature red velvet chalk doesn’t fade during baking.
Step 4: Stir in the Almond Flour and Baking Powder
Fold the almond flour, baking powder, and salt into the wet ingredients, mixing carefully to retain air for a tender crumb. Avoid overmixing to keep the brownies fudgy rather than cakey.
Step 5: Add the Chocolate Mixture
Slowly whisk the melted butter and cocoa into the batter until every bit is incorporated, creating a glossy, luscious batter ready for baking.
Step 6: Prepare the Cream Cheese Swirl
In a separate bowl, blend the cream cheese, additional sweetener, egg, and vanilla extract until smooth. This creamy swirl balances the rich brownie with a silky tang.
Step 7: Layer and Swirl
Pour half the brownie batter into your prepared pan, dollop half of the cream cheese mixture on top, then repeat with the remaining batter and cream cheese. Use a knife or skewer to gently swirl layers together, creating an elegant marbled effect.
Step 8: Bake to Perfection
Bake for about 25-30 minutes, or until a toothpick inserted comes out with just a few moist crumbs. Be careful not to overbake; you want them fudgy and decadent, not dry.
Step 9: Cool Completely Before Cutting
Allow the brownies to cool fully in the pan before slicing. This resting time helps the structure set and makes cutting cleaner.
How to Serve Gluten-Free Red Velvet Brownies with Almond Flour Recipe
Garnishes
Top your brownies with a dusting of powdered sugar or a few fresh raspberries for a burst of tartness. Toasted almond flakes also pair beautifully, adding a subtle crunch and nuttiness that complements the almond flour base.
Side Dishes
Serve alongside a scoop of vanilla bean ice cream or a drizzle of dairy-free whipped cream to contrast the richness. A small cup of freshly brewed coffee or a lightly sweetened herbal tea also rounds out the dessert experience perfectly.
Creative Ways to Present
Try cutting these brownies into mini squares and stacking them for a charming dessert tower. You can also layer chunks in parfait glasses with whipped cream and fresh berries for a stunning red velvet trifle twist. For festive occasions, decorate with edible gold leaf or heart-shaped sprinkles to really make them pop.
Make Ahead and Storage
Storing Leftovers
Once fully cooled, store your gluten-free red velvet brownies in an airtight container at room temperature for up to 3 days. For longer freshness, keep them in the fridge where they will stay moist for up to a week.
Freezing
You can freeze these brownies for up to 3 months. Wrap them tightly in plastic wrap and place inside a freezer-safe container. Thaw overnight in the fridge before serving for best texture and flavor.
Reheating
Warm brownies gently in the microwave for 15-20 seconds or in a preheated oven at 300°F (150°C) for about 10 minutes to bring back that just-baked softness. Avoid overheating to prevent drying out this delicate gluten-free dessert.
FAQs
Can I use a different flour instead of almond flour?
Almond flour provides a unique moistness and nutty flavor essential to this recipe. Substituting with another gluten-free flour may alter the texture and taste significantly, so if you swap, opt for a blend designed for baking and adjust liquids accordingly.
Is there a dairy-free version of the Gluten-Free Red Velvet Brownies with Almond Flour Recipe?
Absolutely! Use a plant-based butter alternative and dairy-free cream cheese to keep it vegan-friendly. The texture may be slightly different, but the rich flavors and beautiful red velvet appeal remain.
What type of sweetener works best in this recipe?
I recommend a granulated sweetener that measures like sugar, such as coconut sugar or erythritol blends, to keep the texture consistent. Avoid liquid sweeteners as they can affect batter consistency.
How do I know when the brownies are done?
Insert a toothpick into the center: it should come out with moist crumbs clinging but not wet batter. This ensures your brownies stay fudgy without being undercooked.
Can I make these brownies ahead for a party?
Definitely! Make them a day or two in advance and store well-wrapped in the fridge. They actually develop more flavor as they rest, making them even more delightful for your gathering.
Final Thoughts
You absolutely have to try this Gluten-Free Red Velvet Brownies with Almond Flour Recipe if you’re craving a dessert that’s both indulgent and accommodating. It’s a heartwarming blend of nostalgia and wholesome ingredients that will make your kitchen smell divine and your taste buds dance with joy. Whether for a special occasion or a treat-yourself moment, these brownies are sure to become a beloved recipe in your collection.
Print
Delicious Recipe
- Prep Time: 10 minutes
- Cook Time: 30 minutes
- Total Time: 40 minutes
- Yield: 4 servings
- Category: Dessert
- Method: Baking
- Cuisine: American
- Diet: Gluten Free
Description
These Gluten-Free Red Velvet Brownies combine the rich, moist texture of classic red velvet with the wholesome goodness of almond flour, making them perfect for those avoiding gluten. Featuring a creamy cream cheese swirl, these brownies are a delightful treat that balances sweetness and a slight tang with a beautiful red hue.
Ingredients
Brownie Batter
- 3/4 cup almond flour (King Arthur preferred for finer texture)
- 3 eggs (room temperature to prevent batter seizing)
- 10 tbsp unsalted butter (Kerrygold recommended)
- 1/3 cup cocoa powder
- 3/4 cup sweetener
- 1 tsp baking powder
- 1 tsp vinegar
- 1 tbsp red food coloring
- 1/4 tsp salt
Cream Cheese Swirl
- 6 oz cream cheese (Philadelphia recommended for creamiest result)
- 1/4 cup sweetener
- 1 egg
- 1 1/2 tsp vanilla extract
Instructions
- Prepare the Brownie Batter: In a mixing bowl, melt the butter and let it cool slightly. Whisk in the sweetener, then add the eggs one at a time, mixing well after each addition. Stir in the vinegar and red food coloring until evenly blended. In another bowl, sift together the almond flour, cocoa powder, baking powder, and salt. Gradually incorporate the dry ingredients into the wet mixture, stirring until you have a smooth batter.
- Make the Cream Cheese Swirl: In a separate bowl, beat the cream cheese with the sweetener until smooth. Add the egg and vanilla extract, beating until fully combined and creamy.
- Assemble and Swirl: Pour the red velvet batter into a greased or parchment-lined baking pan. Dollop spoonfuls of the cream cheese mixture on top of the batter. Using a knife or skewer, gently swirl the cream cheese into the brownie batter to create a marbled effect.
- Bake: Preheat your oven to 350°F (175°C). Place the pan in the oven and bake for about 25-30 minutes, or until a toothpick inserted near the center comes out with a few moist crumbs. Avoid overbaking to keep brownies fudgy.
- Cool and Serve: Remove the brownies from the oven and allow them to cool completely in the pan. Once cooled, cut into 4 servings and enjoy the rich, creamy texture of your gluten-free red velvet brownies.
Notes
- Use room temperature eggs to ensure the batter mixes smoothly without seizing.
- Almond flour provides a moist, tender crumb but be sure to use a finely ground version for best texture.
- Adjust sweetness to taste depending on your preferred sweetener.
- Allow brownies to cool fully before slicing to achieve clean cuts and the best texture.
- These brownies can be stored in an airtight container in the refrigerator for up to 5 days.


