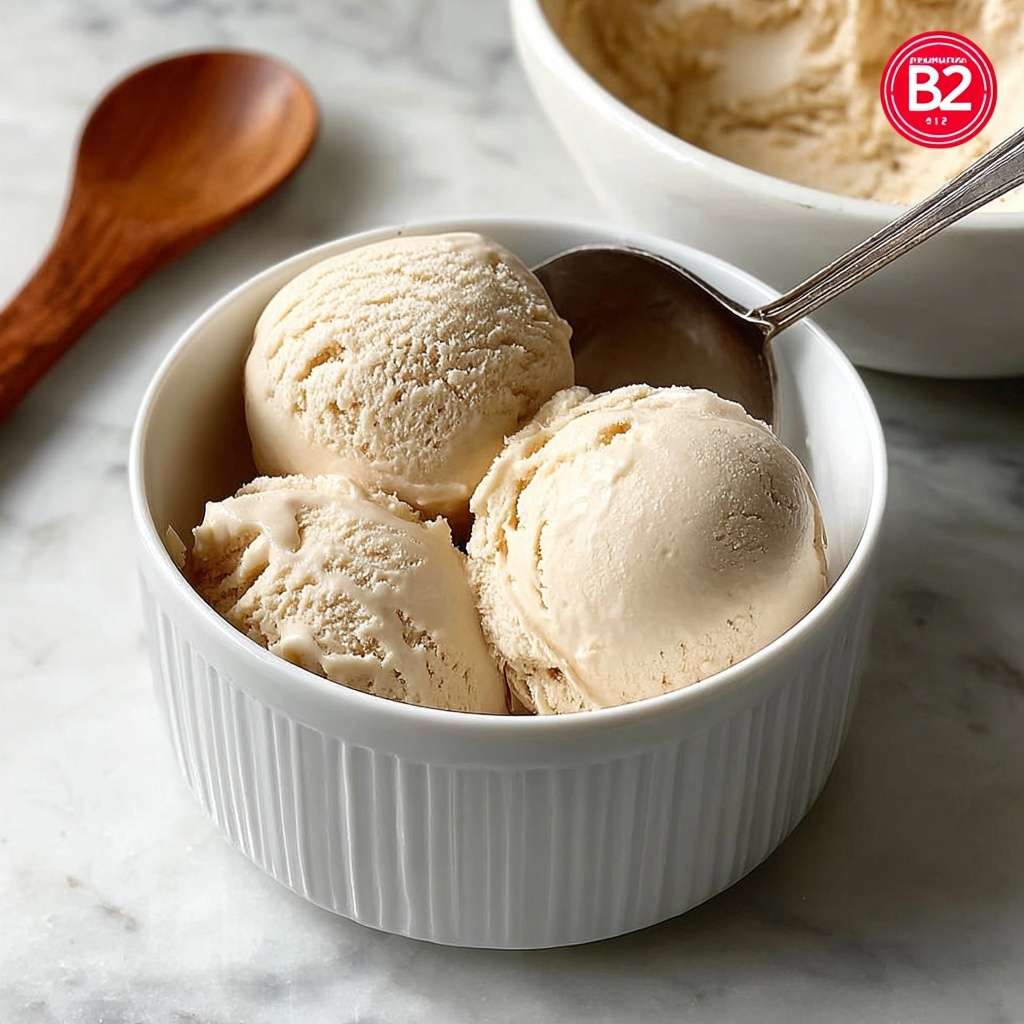
If you have been searching for that perfect creamy, dreamy dessert to enjoy guilt-free, look no further than this Vanilla Vegan Ice Cream: An Incredible Ultimate Recipe. It’s a luscious, silky treat that beautifully balances the richness of coconut milk with the comforting warmth of vanilla, all without a trace of dairy. Whether you’re vegan, dairy-free, or simply craving a plant-based delight that will wow your friends and family, this recipe comes together with surprisingly simple ingredients to deliver unforgettable flavor and texture.
Ingredients You’ll Need
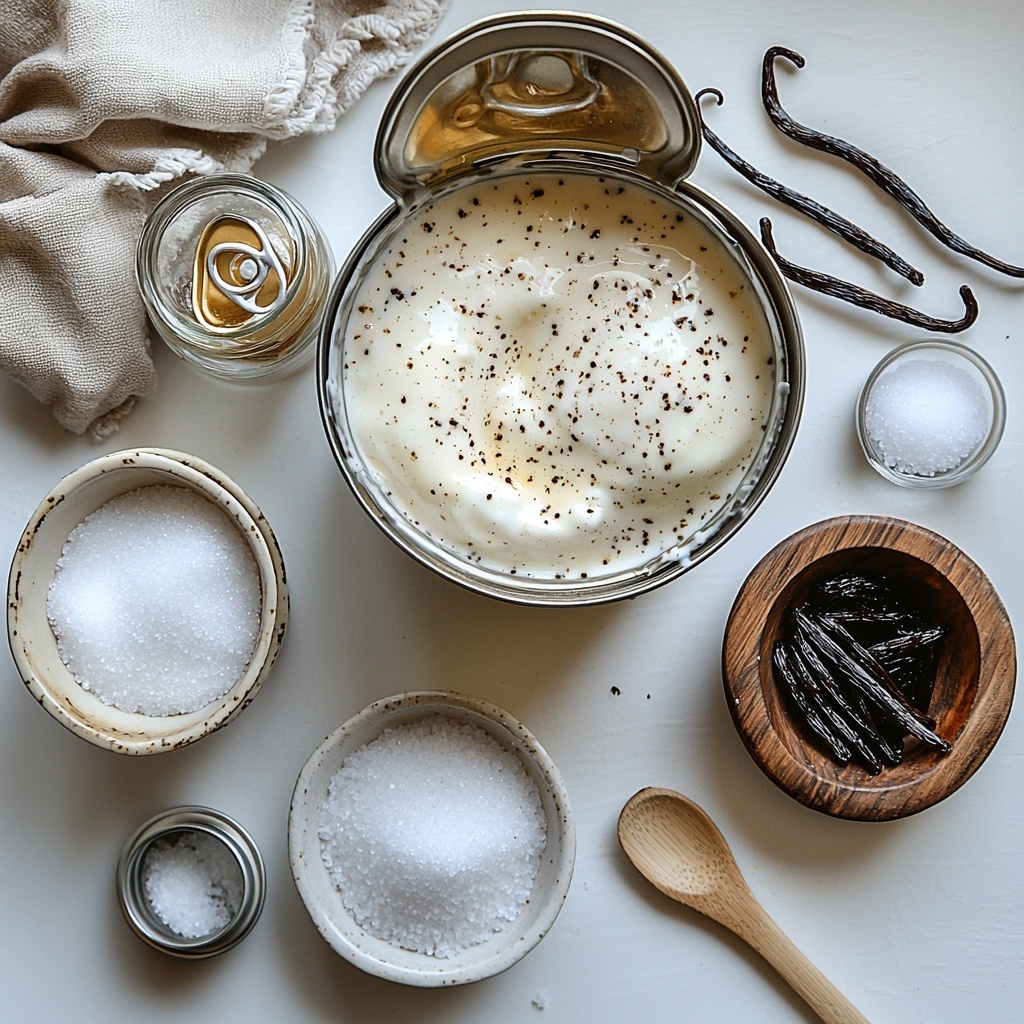
Getting your ingredients right is the secret to making this ice cream truly sing. Each element plays a vital role — from the creamy coconut milk providing body, to the vanilla that infuses every bite with heavenly aroma.
- Full-fat coconut milk (13.5 ounces): Gives the ice cream its rich, creamy base and silky mouthfeel.
- Unsweetened almond milk (1 cup): Lightens the texture while keeping it dairy-free and refreshing.
- Organic cane sugar (3/4 cup): Sweetens naturally and helps with the smooth texture of the ice cream.
- Cornstarch (2 tablespoons): Acts as a thickening agent that creates the perfect creamy consistency.
- Pure vanilla extract (1 tablespoon): Infuses the ice cream with classic vanilla flavor that warms the palate.
- Vanilla bean paste (1 teaspoon, optional): Adds a luxurious, speckled appearance and intensifies the vanilla notes.
- Pinch of salt: Balances the sweetness and enhances overall flavor complexity.
How to Make Vanilla Vegan Ice Cream: An Incredible Ultimate Recipe
Step 1: Dissolve and Combine
Start by whisking together the coconut milk, almond milk, and sugar in a medium saucepan over medium heat. Keep whisking until the sugar dissolves fully, creating a smooth, liquid base. This step is crucial because well-dissolved sugar ensures your ice cream will have an even, delightful sweetness without any graininess.
Step 2: Thicken with Cornstarch Slurry
In a separate small bowl, blend the cornstarch with two tablespoons of the warm milk mixture until no lumps remain. Pour this slurry back into the saucepan and cook on medium heat, stirring constantly. After about 5 to 7 minutes, you’ll notice the mixture thickening slightly — this transformation is what brings your ice cream its luscious, creamy texture.
Step 3: Infuse Vanilla and Cool Down
Remove your thickened base from the heat and stir in the pure vanilla extract, the optional vanilla bean paste for that extra visual and flavor punch, and a pinch of salt. Let the mixture cool to room temperature before placing it in the refrigerator. Chilling for at least 4 hours is essential for the flavors to meld and your ice cream base to become perfectly cold.
Step 4: Churn to Creamy Perfection
Once fully chilled, pour the mixture into your ice cream maker and churn according to the manufacturer’s instructions. This step transforms your base into a thick, creamy delight. If you’d love to add some mix-ins like dairy-free chocolate chips or crushed cookies, now’s the time — add them in the last minutes of churning for even more excitement.
Step 5: Freeze Until Firm
Transfer the churned ice cream into a freezer-safe container and freeze for 2 to 4 hours until it reaches that perfect scoopable firmness. When serving, allow it to sit at room temperature for about five minutes to soften just enough for easy scooping without losing its creamy charm.
How to Serve Vanilla Vegan Ice Cream: An Incredible Ultimate Recipe
Garnishes
Nothing elevates this ice cream quite like thoughtfully chosen garnishes. Fresh berries add a burst of tartness, toasted coconut flakes offer a subtle crunch, and a drizzle of dark chocolate sauce provides a touch of indulgence. Each garnish brings out different facets of the ice cream’s vanilla richness.
Side Dishes
Pairing your Vanilla Vegan Ice Cream: An Incredible Ultimate Recipe with warm desserts like fruit cobblers, dairy-free brownies, or apple crisps can turn a simple scoop into a show-stopping dessert. The contrast between warm and cold, soft and creamy, creates a delightful harmony worth savoring.
Creative Ways to Present
Consider serving scoops in charming waffle cones made from vegan-friendly ingredients, or build an ice cream sandwich using your favorite dairy-free cookies. For a fun twist, try layering the ice cream in parfait glasses with fresh fruit and granola for a lively texture play that will have everyone asking for seconds.
Make Ahead and Storage
Storing Leftovers
If you’re lucky enough to have leftovers, store them in an airtight container in the freezer to maintain freshness. A proper seal helps prevent ice crystals from forming, ensuring your ice cream remains creamy and delicious when you revisit it.
Freezing
This recipe freezes wonderfully. After churning, simply pop it in the freezer for a few hours until it firms up perfectly. When you want to enjoy it, let it warm for a bit at room temperature for ideal scooping consistency without any icy hardness.
Reheating
Unlike traditional ice cream, this vegan version should never be reheated like other desserts. Instead, if it becomes too hard, just leave it out for a few minutes until it softens naturally. This preserves the texture and flavor without altering its delicate balance.
FAQs
Can I make this recipe without an ice cream maker?
Absolutely! Simply pour the chilled mixture into a shallow dish and freeze. Be sure to stir vigorously every 30 minutes for 3 to 4 hours to break up ice crystals, which helps mimic the churning process and keeps the texture creamy.
Is the coconut flavor strong in this ice cream?
The coconut flavor is present but balanced by the almond milk and vanilla, resulting in a subtle background note that enhances rather than overwhelms the vanilla taste.
Can I substitute almond milk for another plant-based milk?
Yes, you can use soy, oat, or cashew milk instead, but keep in mind that the flavor and texture may slightly vary. Almond milk keeps it light and mild, complementing the coconut base perfectly.
What can I use as a sugar substitute?
Organic cane sugar is recommended for the best texture and taste, but you can try coconut sugar or maple syrup. Note that liquid sweeteners like maple syrup may affect the final texture and freezing time.
Is this ice cream gluten-free?
Yes, this Vanilla Vegan Ice Cream: An Incredible Ultimate Recipe is naturally gluten-free, making it a great choice for those with gluten sensitivities or celiac disease.
Final Thoughts
There is truly something magical about making this Vanilla Vegan Ice Cream: An Incredible Ultimate Recipe at home. It brings together simplicity, lusciousness, and the pure joy of a plant-based dessert that anyone can enjoy. I can’t wait for you to try it and experience how delightfully creamy and satisfying vegan ice cream can be. Promise me you’ll savor every scoop and maybe even share with a friend!
Print
Vanilla Vegan Ice Cream: An Incredible Ultimate Recipe
- Prep Time: 15 minutes
- Cook Time: 10 minutes
- Total Time: 4 hours 25 minutes
- Yield: 6 servings
- Category: Dessert
- Method: Churning
- Cuisine: American
- Diet: Vegan
Description
This Vanilla Vegan Ice Cream is an incredible, creamy, and dairy-free dessert made with full-fat coconut milk and almond milk. Sweetened with organic cane sugar and infused with pure vanilla, this homemade vegan ice cream is both rich in flavor and plant-based. Perfect for a refreshing treat that suits vegan, dairy-free, and gluten-free diets.
Ingredients
Ice Cream Base
- 1 can (13.5 ounces) full-fat coconut milk
- 1 cup unsweetened almond milk
- 3/4 cup organic cane sugar
- 2 tablespoons cornstarch
- 1 tablespoon pure vanilla extract
- 1 teaspoon vanilla bean paste (optional)
- 1 pinch salt
Instructions
- Combine Ingredients: In a medium saucepan, whisk together the full-fat coconut milk, unsweetened almond milk, and organic cane sugar over medium heat until the sugar is completely dissolved, creating a smooth mixture.
- Make Slurry: In a small bowl, mix the cornstarch with 2 tablespoons of the milk mixture taken from the saucepan to form a smooth slurry without lumps.
- Thicken Mixture: Pour the cornstarch slurry back into the saucepan. Cook the mixture over medium heat, stirring constantly for about 5 to 7 minutes, until it thickens slightly to a custard-like consistency.
- Add Flavorings: Remove the saucepan from heat and stir in the pure vanilla extract, vanilla bean paste if using, and a pinch of salt to enhance the flavor.
- Chill Base: Allow the mixture to cool down to room temperature. Then, refrigerate it for at least 4 hours or until it is completely chilled to prepare for churning.
- Churn Ice Cream: Pour the chilled base into an ice cream maker and churn following the manufacturer’s instructions until the ice cream becomes thick and creamy.
- Freeze for Firmness: Transfer the churned ice cream to a freezer-safe container and freeze for 2 to 4 hours until it firms up to the desired consistency.
- Serve: Remove the ice cream from the freezer, let it sit at room temperature for 5 minutes to soften slightly, then scoop and serve.
Notes
- For a soy-free option, ensure your sugar is certified vegan.
- If you do not have an ice cream maker, pour the chilled mixture into a shallow dish and freeze, stirring every 30 minutes for 3 to 4 hours to prevent ice crystals from forming.
- Add mix-ins such as dairy-free chocolate chips or crushed cookies during the last few minutes of churning for extra texture and flavor.


